For users that have admin access to Network Attached Storage (NAS) devices on the network, it is required to have 2FA enabled. Below are instructions on how to get that setup for a Synology NAS.
How to setup 2FA
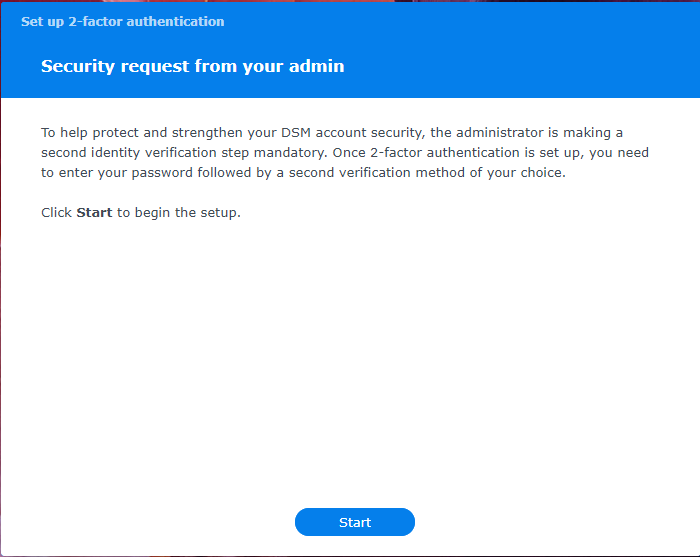
The first step is to try logging into the NAS with your credentials. If the NAS has 2FA being enforced, you will be greeted by this popup before being able to access anything. Click “Start” to continue.
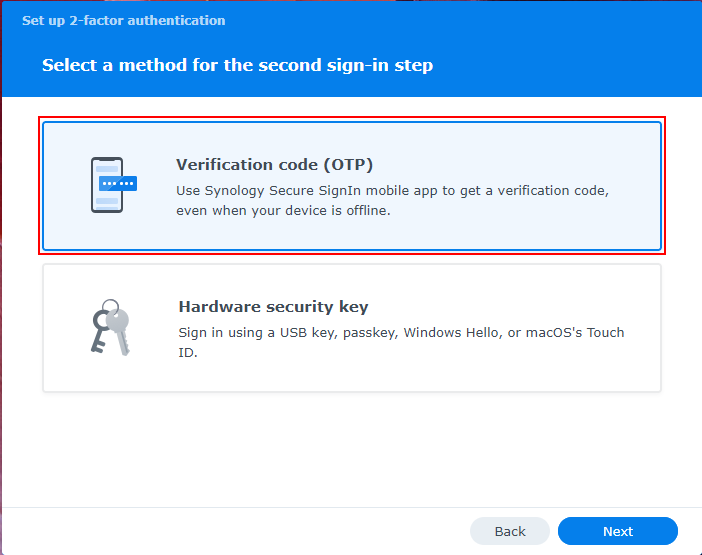
Next, you’ll be presented with an option of which type of method you’d like to use. Select the “Verification code (OTP)” method then click on “Next”.
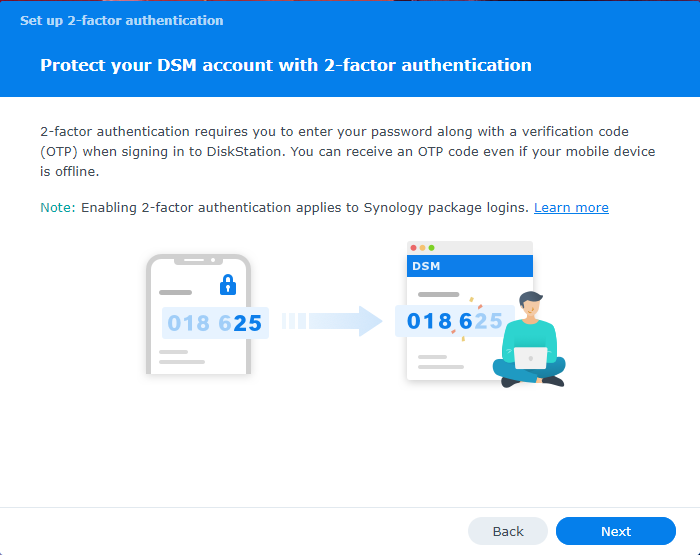
It will then explain how this method works, click on “Next” to continue.
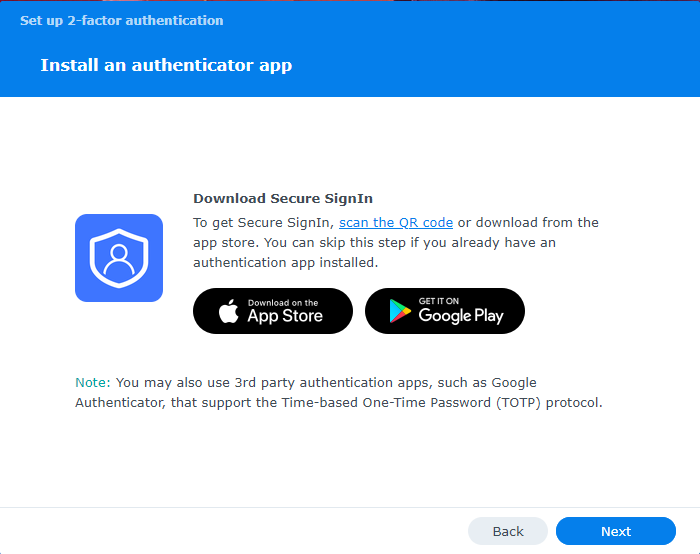
It will then try to get you to install their mobile app, ignore this request if you’re not using a mobile app and click on “Next” to continue.
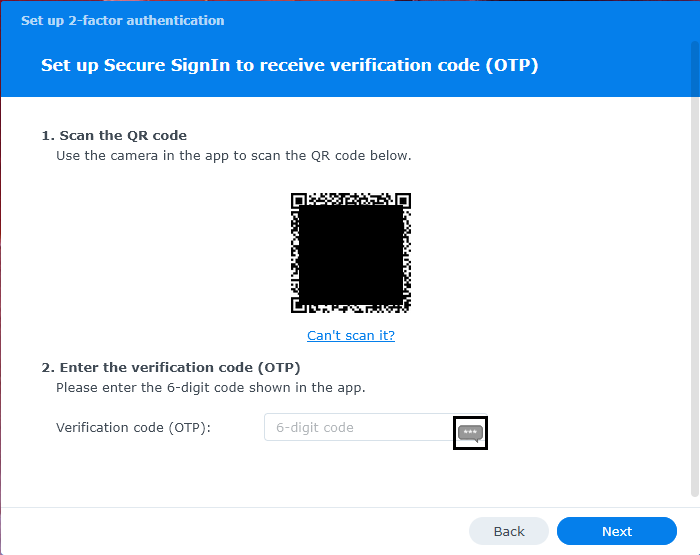
Finally, it will present you with a QR code to configure the OTP. At this time, if you don’t have a mobile device, continue with the KeePass instructions. Or if you would prefer to use a mobile device, continue with the mobile device instructions.
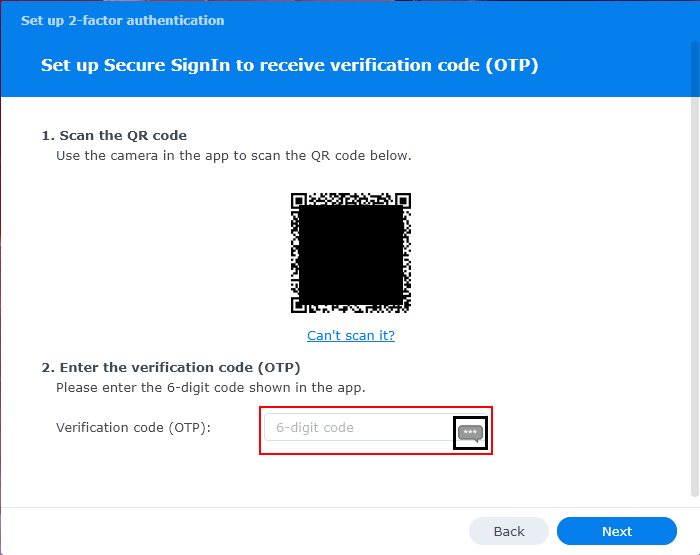
With the code still in your clipboard, paste it in the “Verification code (OTP)” field. Click “Next” to continue.
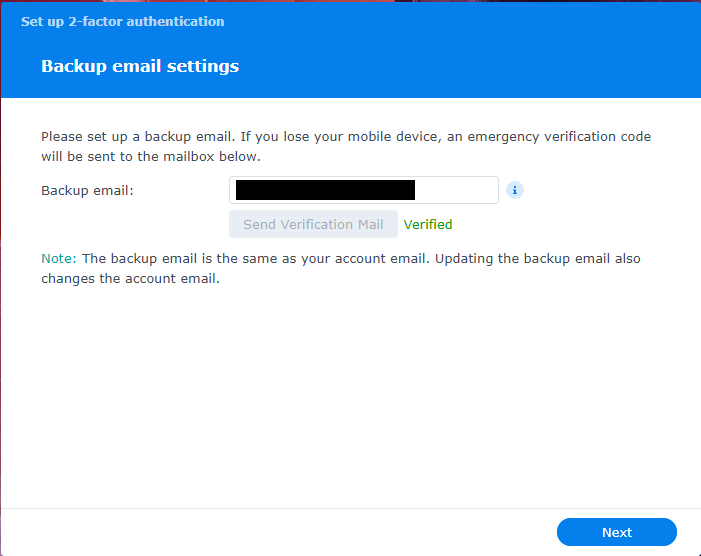
Once successful, you can then enter the email address you’d like to use as a backup method. It will send you an email to verify it’s a valid address. The email will have a link that you click that will validate the address. Once validated, it will say “Verified” in green. Click “Next” to continue.
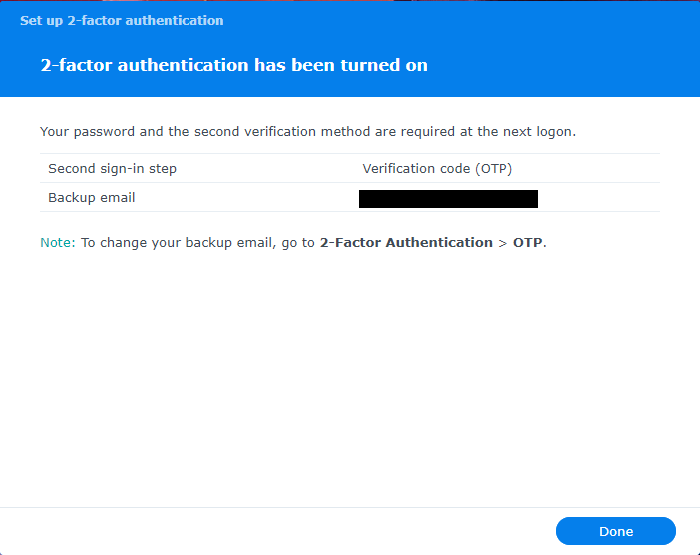
This is the final screen informing you that OTP has been enabled and activated for your account. Click on “Done” to close this out.
KeePass Setup
Install / Configure KeePass
If it isn’t already installed, download and install KeepPass from the website. Once KeePass is installed, create a database then download and install the KeePassOTP plugin. This will be placed in the “Plugins” folder: C:\Program Files\KeePass Password Safe 2\Plugins. Create a new Entry to store your credentials for the NAS.
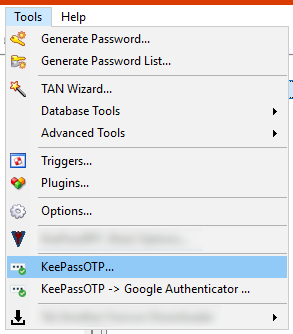
In KeePass, in the top application menu, click on “Tools”, then click on “KeePassOTP” to open the settings.
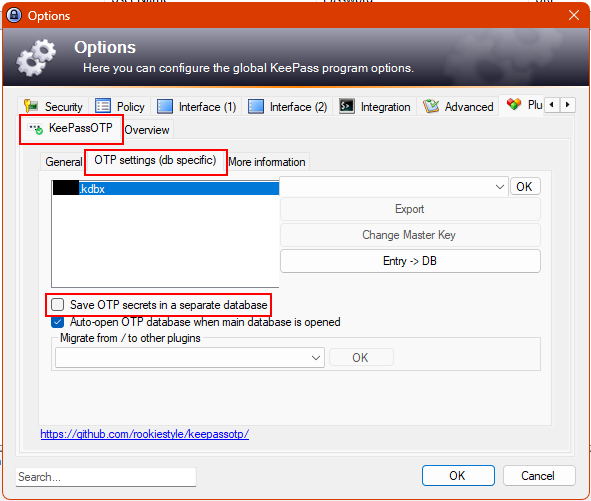
Once the Options menu is open, navigate to the “KeePassOTP” tab, click on “OTP settings (db specific)” and uncheck Save “OTP secrets in a separate database”. Click “OK” to save these changes.
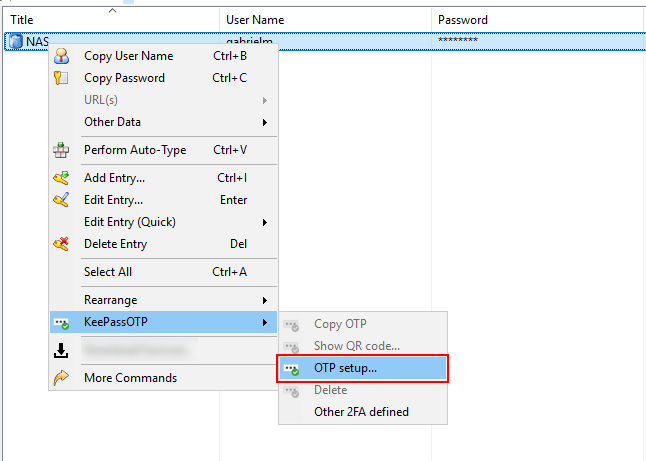
Next, still in KeePass, right-click on the entry and select “OTP setup…” from the “KeePassOTP” option.
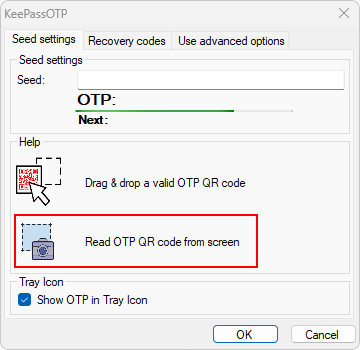
This will open a new popup to now read in the QR code. Click on “Read OTP QR code from the screen” and it will automatically read the QR code and populate the “Seed” field. Click “OK” when it’s done.
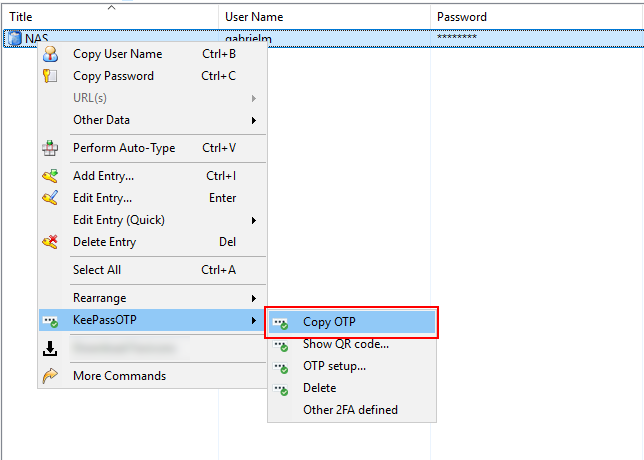
Still in KeePass, right-click on the entry and select “Copy OTP” from the “KeePassOTP” option. This will copy the current OTP code into your clipboard.
After you’ve copied the current OTP for that entry. You’ll then manually paste this into the screen to proceed. You will then follow the rest of the instructions.
Mobile App Setup
Note: When possible, please use your work phone over your personal phone. This will help keep work/personal life separate.
When given the option to install a mobile app, below are the two we recommend:
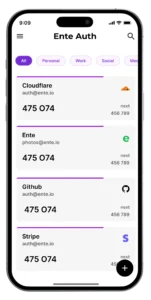
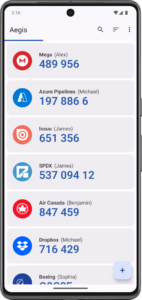
Once installed, you can add an entry to the app for your login. Give the entry a name such as “UC NAS” or something descriptive to tell it apart. It will also give you the option to use your camera to scan the QR code.
After you’ve scanned the QR code, you’ll now have a new entry displaying the current OTP for that entry. You’ll then manually type this into the screen to proceed. You will then follow the rest of the instructions.